arrow_circle_down Designs
arrow_circle_down Subscribe
arrow_circle_down How to make Crazy Patch Bag with recessed zip and inner pockets
Patchwork Handbag with Recessed Zip
by Sew Nice by Darina
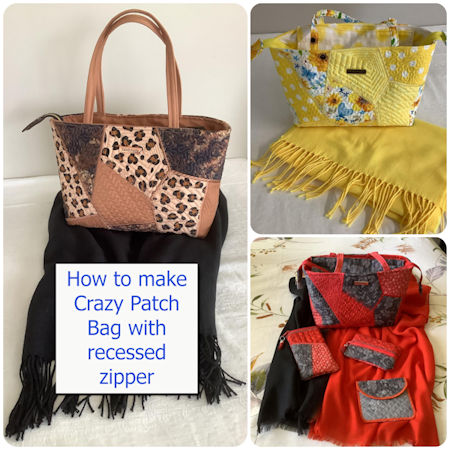
Our amazing Darina is the Queen of taking an ordinary design and making it extrordinary. Darina has done it again, taking our Crazy Quilt Bag 2 panel and turning it into this fantastic 'handmade' bag with all the trimmings!!
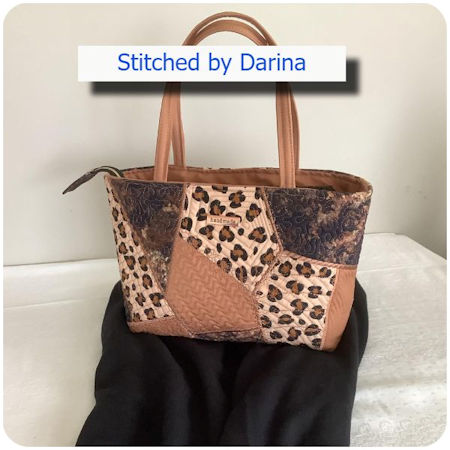
This fantastic bag is created using our Crazy Quilt Bag 2, (6x10 size) but you can use these techniques to enhance your own bag pattern.
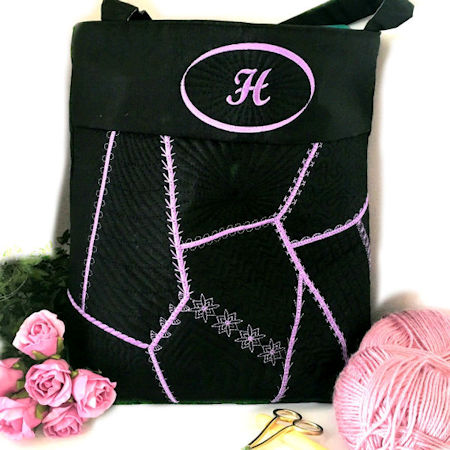
Completed size approximately 12” wide by 7” high
MATERIALS
- Scrap fabrics for making the two embroidered panels
- Lining fabric, approximately half a metre/yard. (optional Parlan or Interfacing to press on the back)
- One zip for top opening approx. 18”. Will be cut to size.
- Small pieces of one of the main bag fabrics to make the zip tab panels along top of bag.
- Small amount for internal pocket.
- Two 16” x 2” strip for handles.
Darina has made quite a few of these bags, we use photos from different samples in these instructions, so you will see different fabrics being used - we've used the photos that best show the technique
BAG FRONT AND BACK
- Make two side panels in the 6x10 size of the Crazy Quilt bag 2 pattern - Trim all wadding/batting out of the seam allowance as you go.
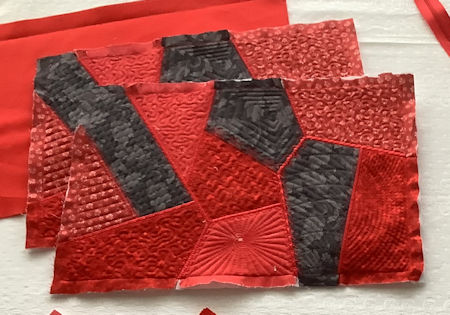
- Cut completed piece down to 15 inch wide, 10.5 inch high
Set aside till later
Make Zip Tabs
Make these to fit the width of your zip
- Cut two pieces of fabric 5 by 3 inch,
- Optional - Add 4 by 3 inch square of thin batting
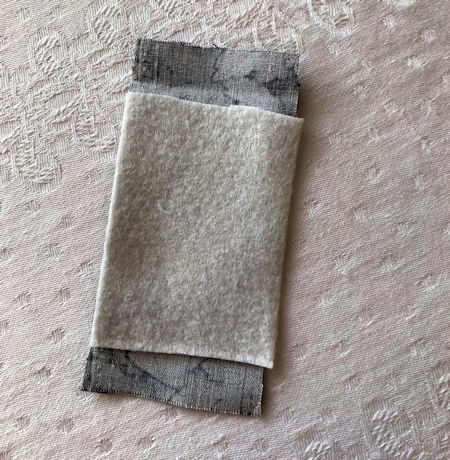
- Fold in the raw edges on both ends
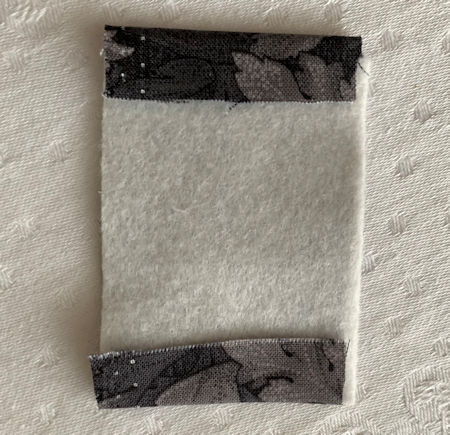
- Fold in half - right sides together
- Stitch along sides as pictured
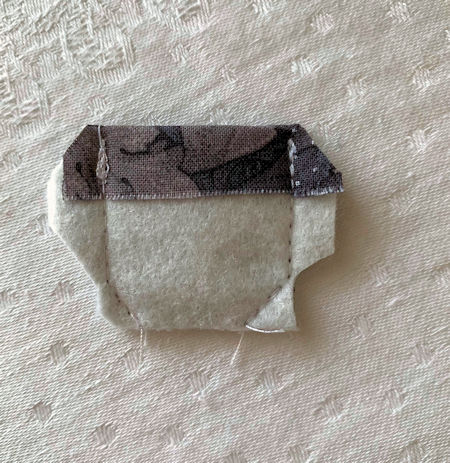
- Turn to right side and press
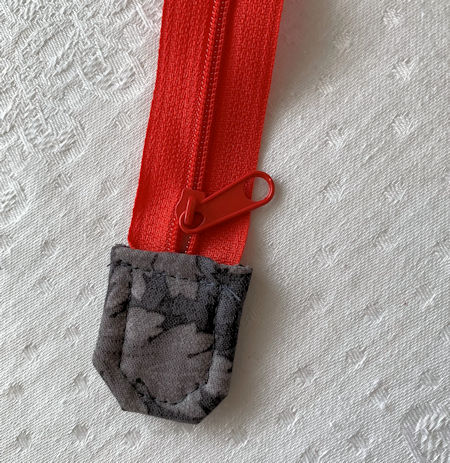
Once you have decided on the length you wish the zip to be (which is completely personal preference), place the tabs over the edges and top stitch to attach
You can add your zipper tabs at the very end of the process, so you can judge how long you want the finished zip to be.
Recessed Zip Panels
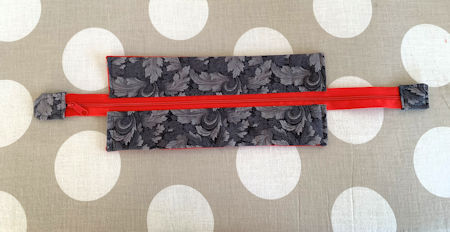
- Cut two panels in main fabric 10”x 3”
- Cut two panels in lining fabric 10”x 3”
- Back the main fabric with iron on Parlan or interfacing leaving a ½” gap either end to turn back ends.
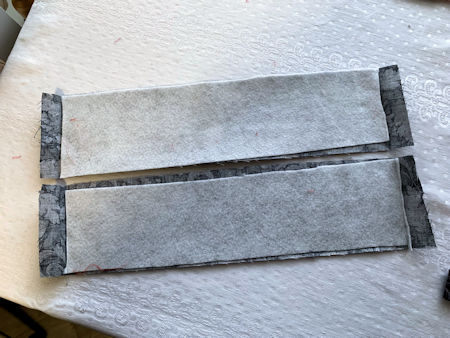
- Turn under a ½ inch on each end of all four pieces and press.
- Lay your zip face down on the first main piece (right side of fabric facing upwards)
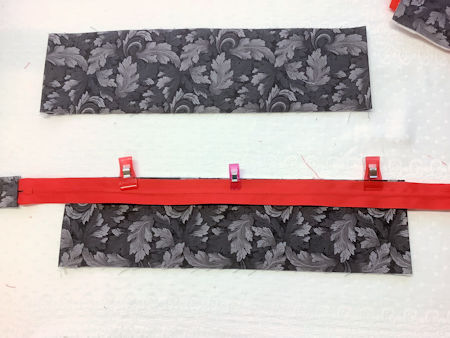
- Lay your lining piece on top (right side of lining fabric facing the zip)
- Stitch close to the zip teeth.
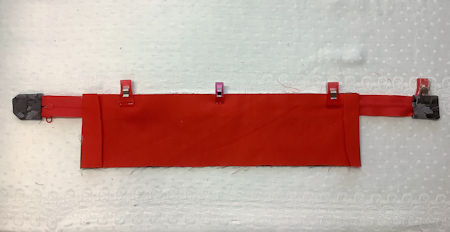
- Turn out and press.
- Top stitch close to zip.
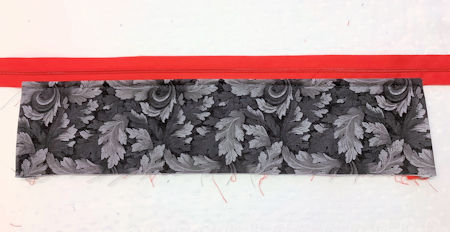
- Repeat the process for the other side of the zip.
- Your zip will now be enclosed in your tab and you will have raw outer edges.
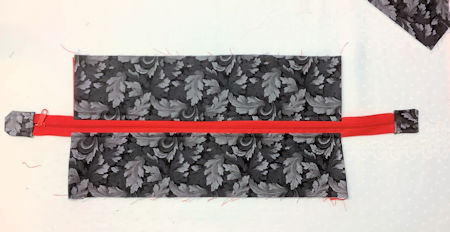
- Next, we neaten the raw edges to complete the recessed zipper
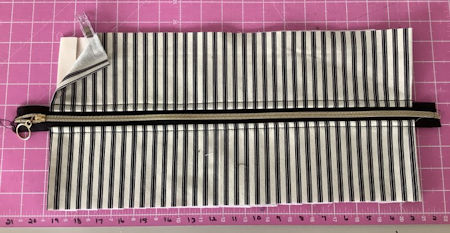
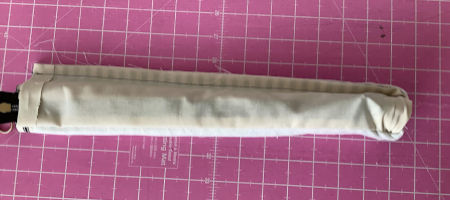
- Roll one side completely out of the way as pictured
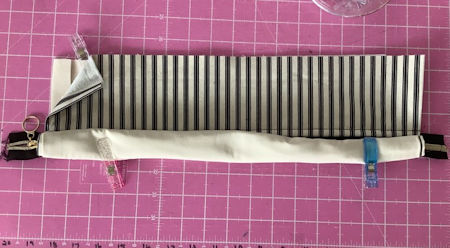
- Fold back the raw edges to meet, (right sides facing each other) enclosing the rolled up section.
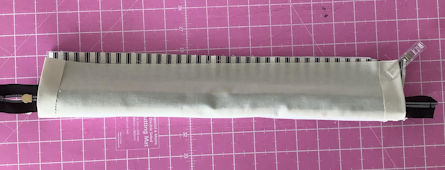
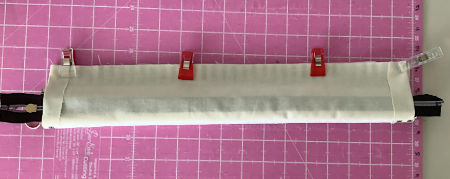
- Stitch along the raw edge.
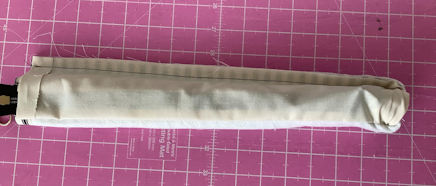
- Turn through to the right side.
- You can use your zip tail to slide through and help pull it all through to the right side
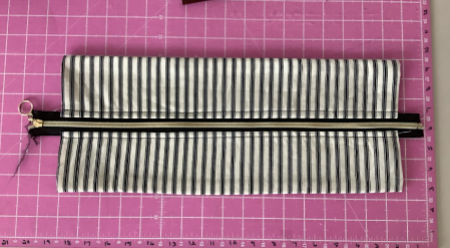
Once turned through, your panel will look like this with one side neatly finished with an encased seam, and the second side with raw edges
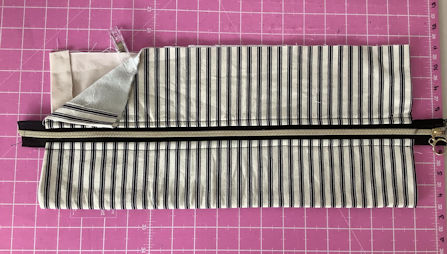
- Repeat the process to complete the other side.
Optional Internal Pocket
- Cut one piece of main fabric and one piece of lining. I cut 8 by 6 inch - size is personal preference
- Optional - press interfacing on back of front fabric, if preferred.
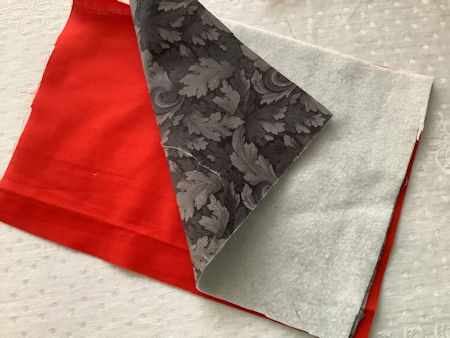
- Place your two pieces fabric right sides together. Stitch around all sides leaving on opening in the centre of the bottom edge. Trim the corners and turn through.
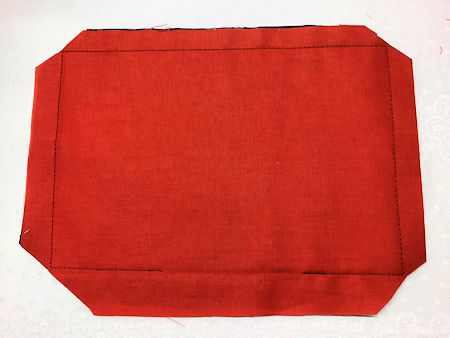
- Top stitch along top edge for a nice finish.
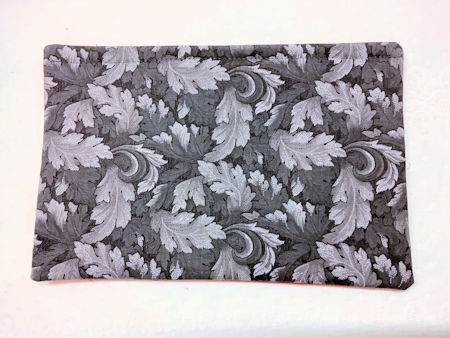
- Put aside ready to add to lining.
Straps/Handles
As this is just a small bag I have opted for simple narrow handles made from any one of the main fabrics.
- Cut strips of fabric, two at 16” long or one 32” by 2” wide
If you have a binding machine, pop it through that, or
- Press in half lengthways then turn your two raw edges into the centre.
- I have laid a thin piece of wadding/batting down the centre to give them a little bit of body.
- Fold over in half and stitch down both edges. Looks nice with a contrasting thread.
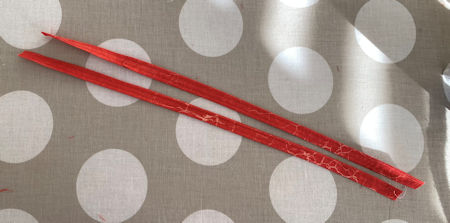
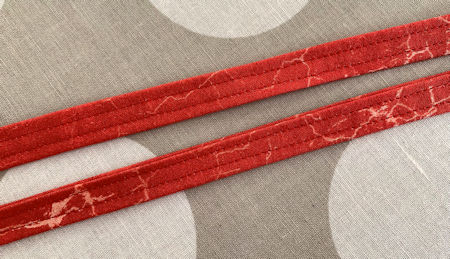
Place aside until needed.
Lining
- Cut Two pieces 15 inch wide by 10.5 inch high
- Optional add parlan or interfacing to add body to the bag
- Using an erasable pen, mark one inch from top, and the centre of both pieces
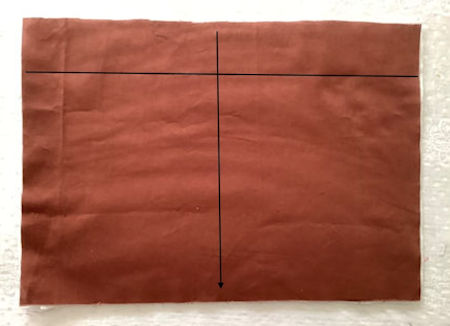
- On one piece centre your pocket and stitch in place approximately one inch down from your marked line.
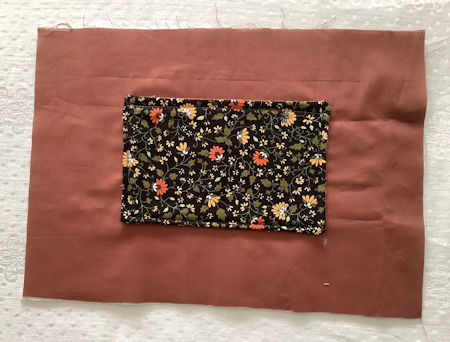
- On both Lining pieces, using the marked line, centre and top-stitch your large zip tab onto your lining.
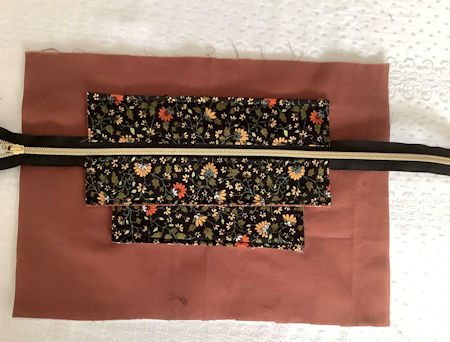
You will end up with your Lining looking like this
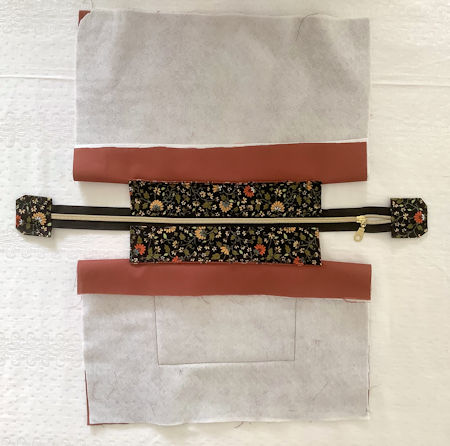
Cut Boxed corners
Make the boxed corners on both Lining pieces and your front and back panels
- Measure from the raw edges, cut either a 1.5 or 2 inch corner on the bottom edges
The difference in sizing is how you would like your bag to be finished. Smaller corner will have the bag slightly narrower and slightly taller. The 2” will be slightly more squat. It is personal choice.
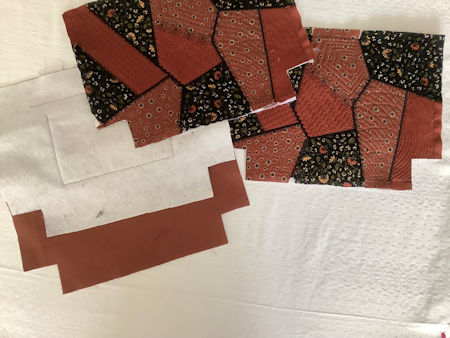
Stitching Side Seams
Bag Front
- With right sides facing
- Stitch along the sides and bottom
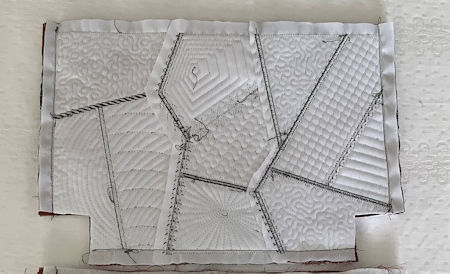
Lining
- Right sides facing (with your zip tab tucked inside)
- Stitch two sides seams
- Stitch the bottom seam leaving a 3-4 inch opening for turning your bag through
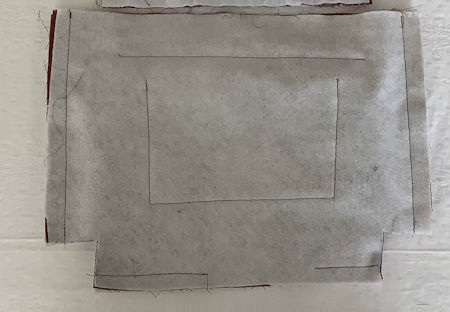
Boxed Corners
- Fold the raw edges together, then stitch to form the corners
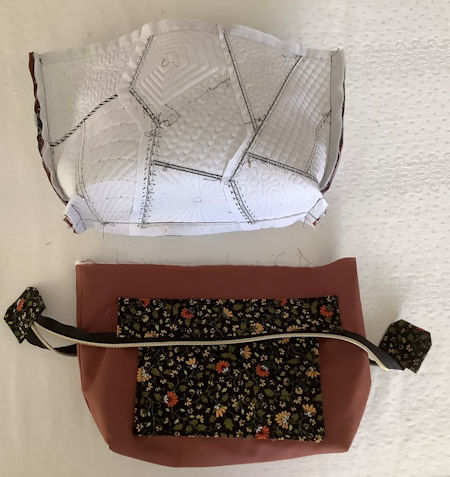
Placement of Strap/Handles
- On your outer patchwork panels, measure in 4” from side seam and stitch your handles in place. Good to double stitch for secure hold.
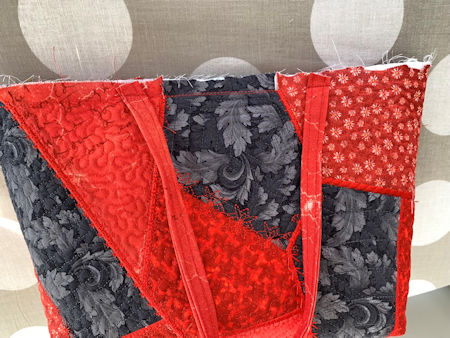
Adding your Lining
- With your outer bag turned wrong side out and your lining piece right side out, place your lining inside the outer bag. Matching up your side seams. This is the time to do a little adjustment on your lining seams if the fit is not perfect.
- Using clips match your two pieces all the way around the top.
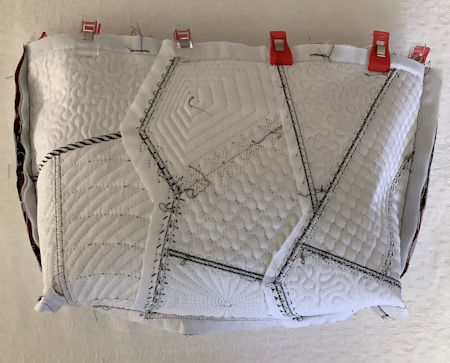
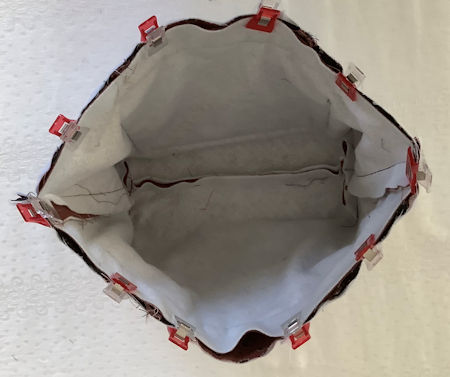
I then flip the bag through, so I can use the stitch lines on the embroidered panels as my guideline (stitch just inside the stitch line of the panels)
- Turn your bag through to the right side
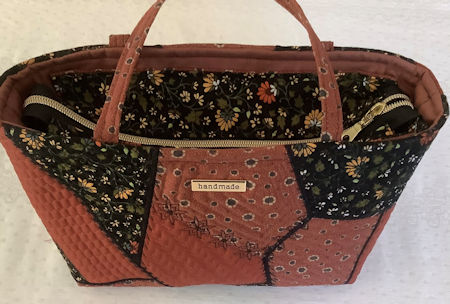
- Clip all in place then top stitch all the way around so recessed tab stays in place.
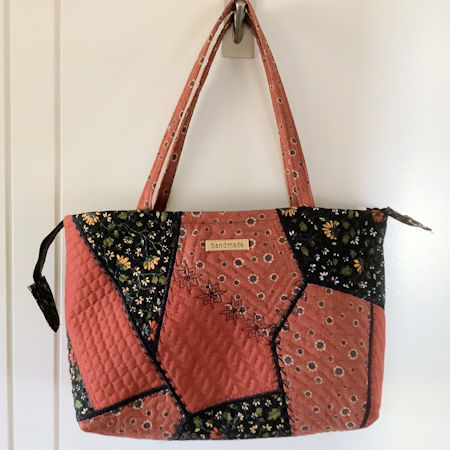
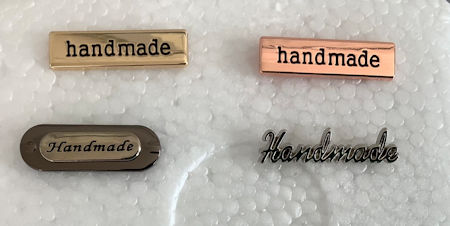
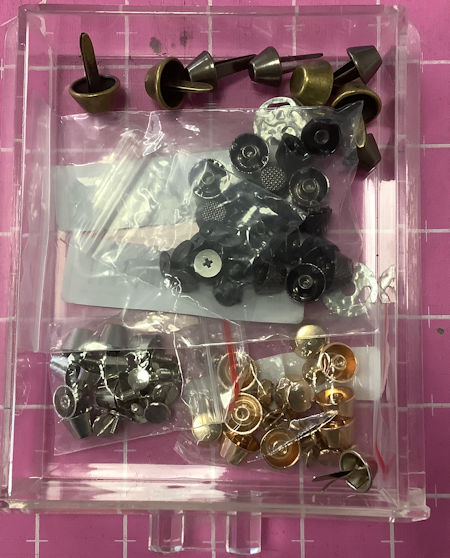
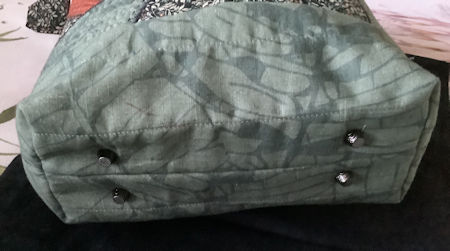
Add any ‘bling’ if you have some. I love these cute metal ‘Homemade’ badges that I found on Temu for a very cheap price. Really gives your bag a classy finish! I also got some bag feet.
- Once it is all completed stitch up the gap in your lining.
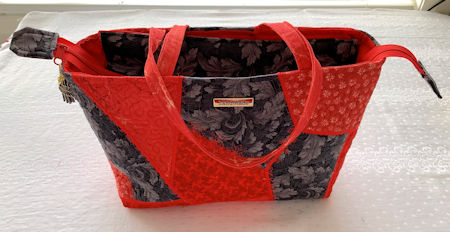

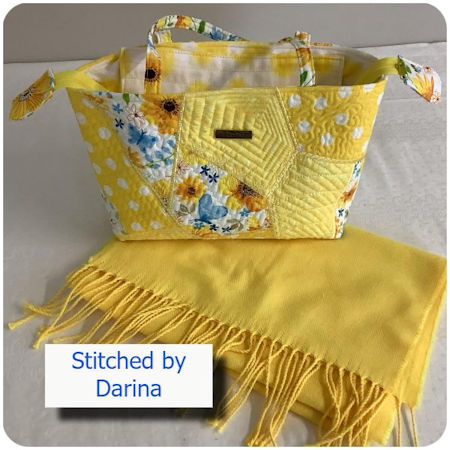
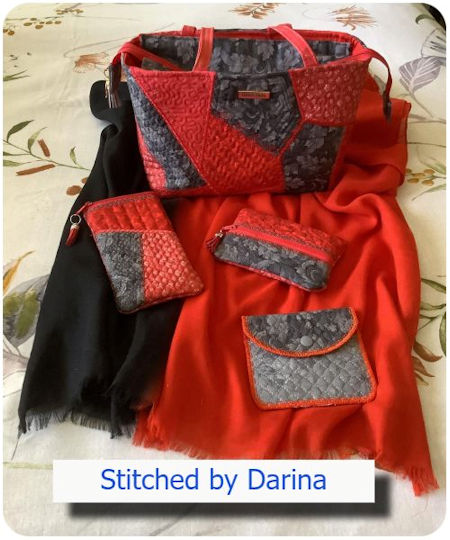
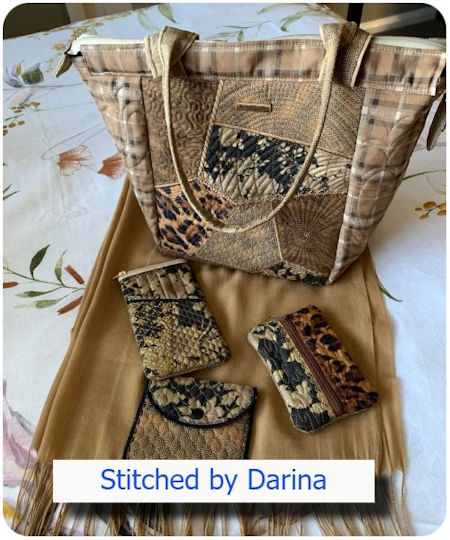
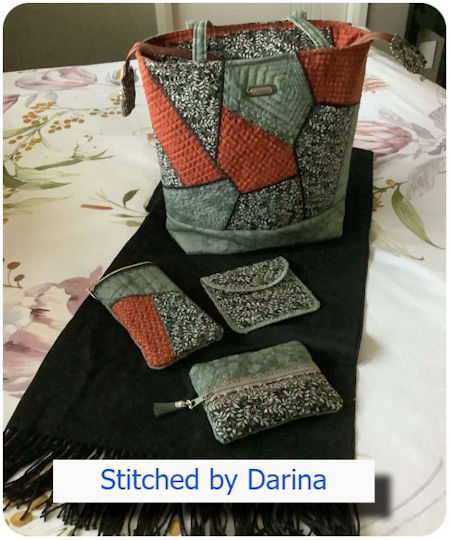
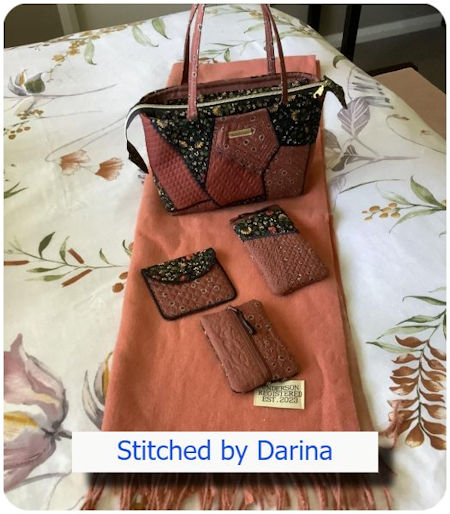
Darina is also the Queen of making beautiful gift sets, and not content with 'just a bag', Darina created these beautiful gift sets using a purchased scarf then using the same color theme, created the whole package.
Designs used
| Top |

