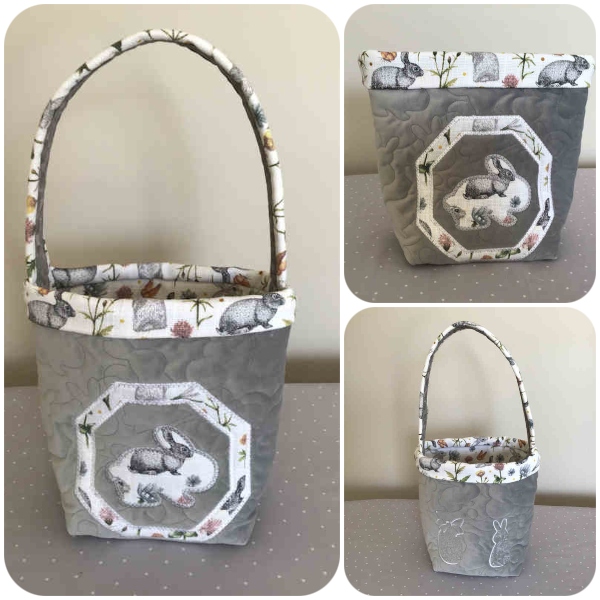
How to make a Fabric Basket
Bunny Basket Blog
Fabric Suggestions: Furnishing, drill, linen, craft, velvet.
Batting Suggestions: Matilda's Own Quilt Wadding - you need a substantial batting so your bag sides and nice and firm and don't collapse
Designs used in this Sample Free Bunny Applique Set
DOWNLOAD PRINTABLE VERSION (PDF)
FINISHED SIZE
This is a project that you can pretty much make to any size you like. As a guide, Darina has included the following cutting guide. But once you've made your first test sample, you can then adapt your cutting sizes to fit your needs.
STEP ONE - OPTIONAL
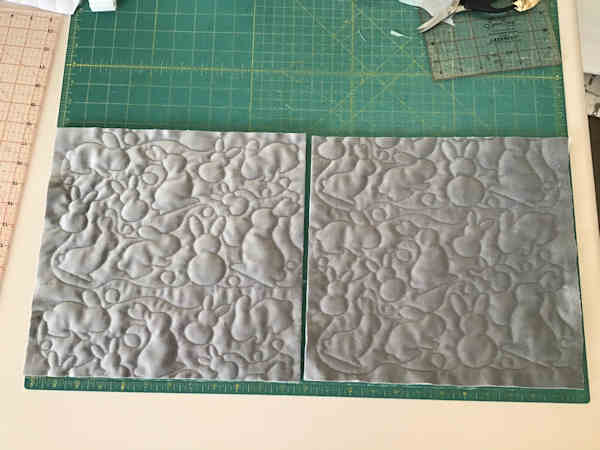
Pre-quilt your fabric - Instructions included in the Free Bunny Applique Set
STEP TWO
Cut your fabric squares to desired size.
STEP THREE
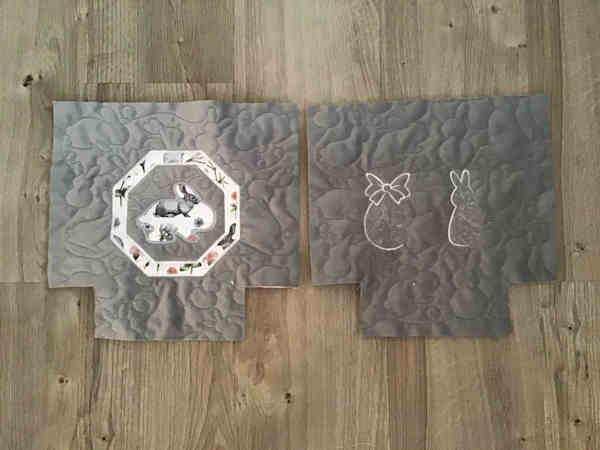
Embroider your design in the centre of your block. You may choose to embroider on both sides of your basket or just the front.
|
TIPS Be mindful of where you position your embroidery The size of your corners (plus seam allowance) will be the bottom of your Basket, and the top of your basket will have the Lining folded down. Darina started with the 12x12 blocks and used the 5x5 Free Applique Bunny If you are not sure where to position your embroidery, then you can mark the corner size on your fabric, plus 1/2 inch seam allowance and that will be the bottom of your basket ie corners are 3 inch - mark 3.5 inch from the bottom |

STEP FOUR
Cut the corners to the appropriate size. Your see through plastic ruler makes this easy.
STEP FIVE
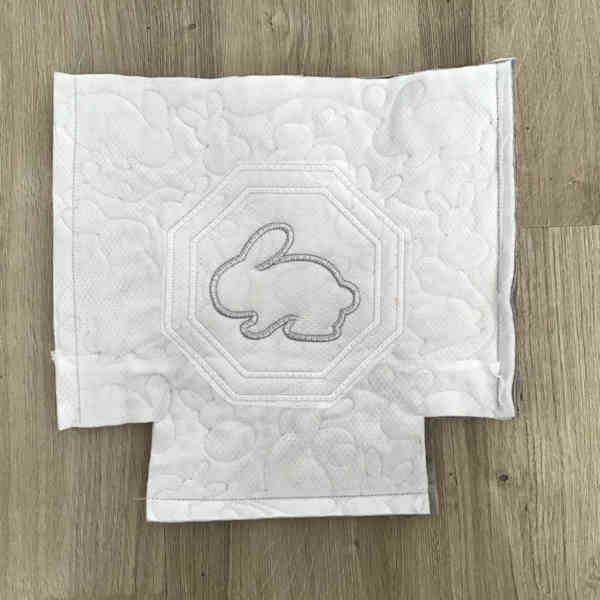
Place your two panels right side facing and stitch the two side seams and the bottom seam.
Press seams open.
STEP SIX
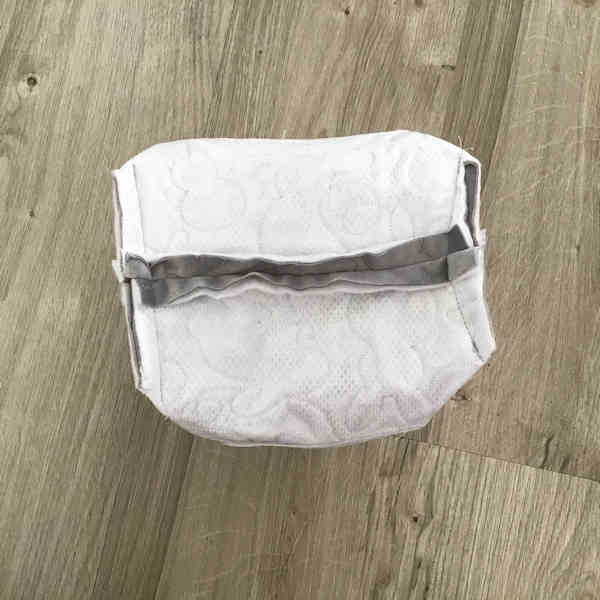
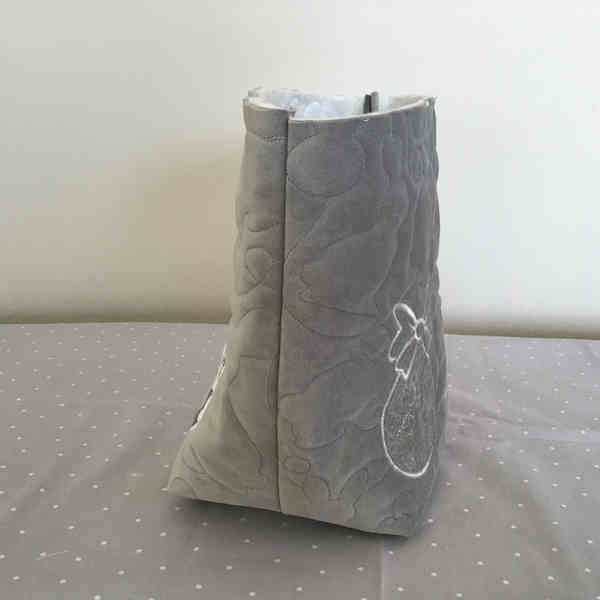
Fold the base to the sides to match the seams, and stitch as pictured. This creates your boxed corners.


STEP SEVEN
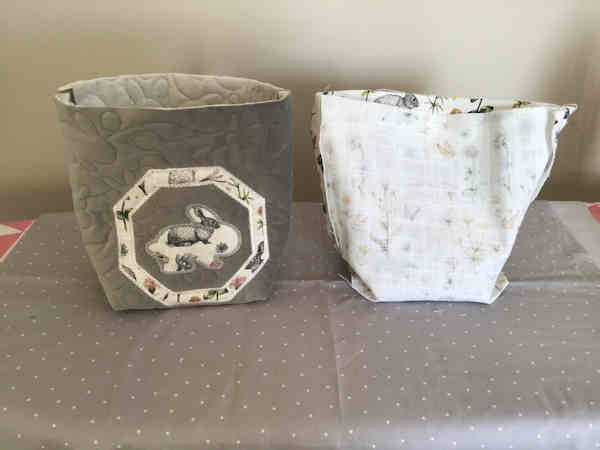
Make your lining in the same way. I do slightly deeper seams on the lining as your internal measurement is always slightly smaller.


STEP EIGHT
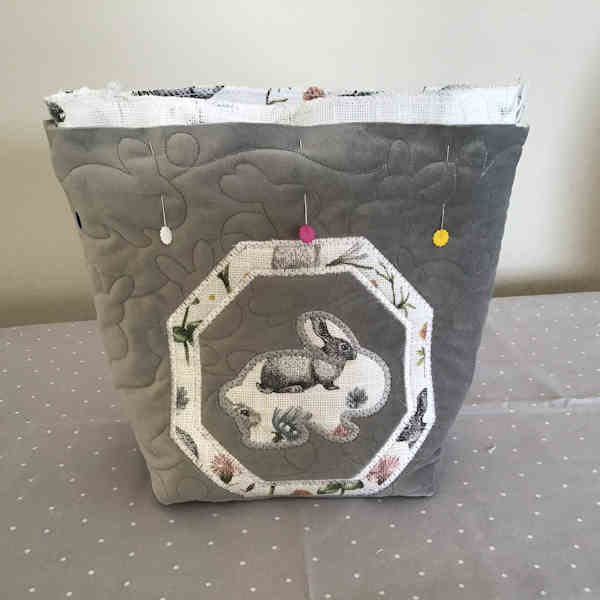
Place your two baskets inside one another with wrong sides facing. Your lining could end up slightly taller than the outer fabric so you can either trim a little off first or stitch together and trim later.

STEP NINE
Zig zag or serge the top edge

STEP TEN
Cut two pieces of fabric the width of your original panels for the top band. I did 5” high for my sample but can easily do it deeper.
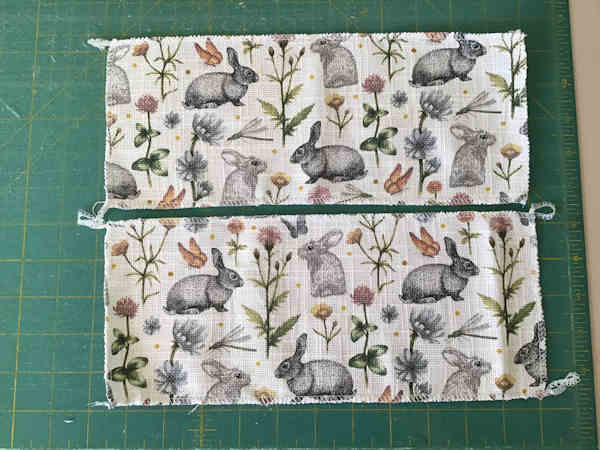
STEP ELEVEN
Join the side seams then fold in half with wrong sides together.

STEP TWELVE
Pin on the inside of the basket top. If you have used a directional fabric make sure it is up the right way for when you turn it over. Stitch then turn over.

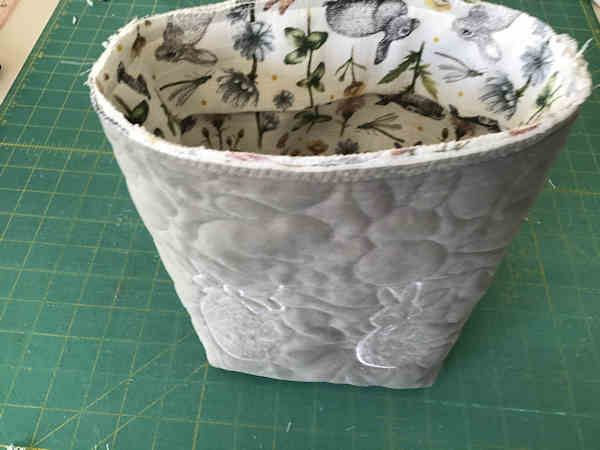

OPTIONAL HANDLE
I have used a piece of foam bag wadding cut @ 1.5” x required length.
Cut a piece of fabric same length and 4” wide

.
Either overlock/serge the edges or turn over and narrow hem one long edge.

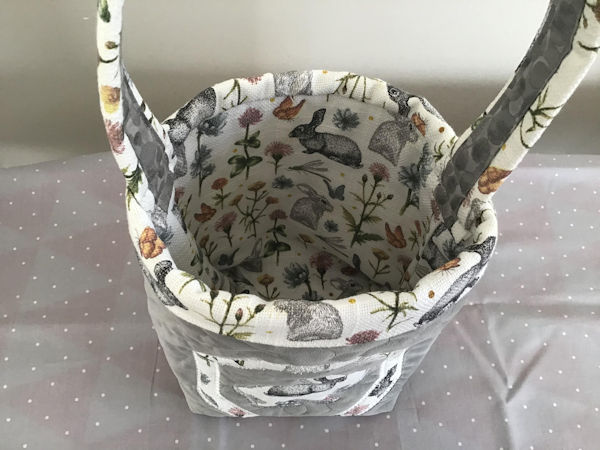
Lay the foam or batting down the centre. Good to spray some temporary glue along it then bring the fabric in from both sides. Stitch down the centre. Add 2 more rows of stitching towards the edge.


Attach handles to the inside of the bag as pictured
VARIATIONS
Make a taller top, and incorporate the fold down in the body of the bag
When you stitch the sides of your lining, Leave a gap along the side, so you can turn the bag

As before, even up the top edge and stitch along the top

Turn to right side, and top stitch as pictured
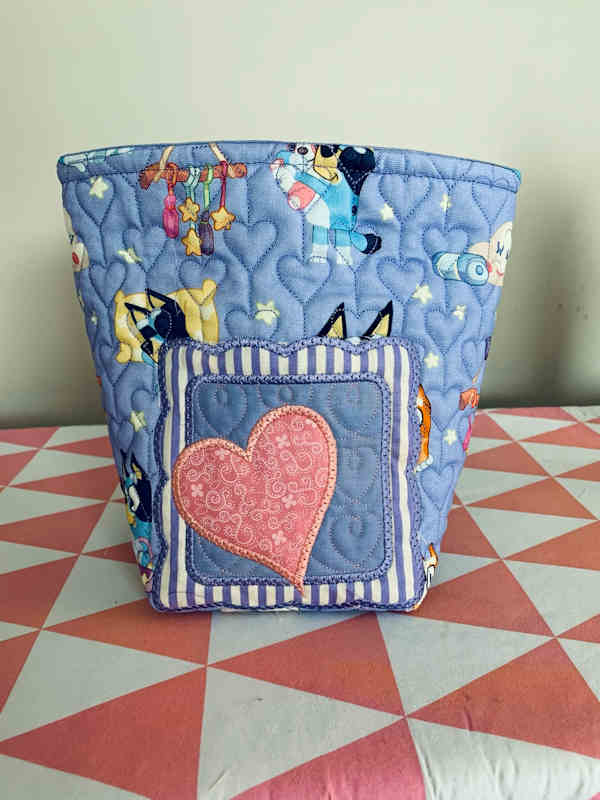
Fold down the top edge

BOUND EDGE
If your fabric is thick (or you prefer the look) you can do as Darina did for this sample
- Overlock the top edge
- Add a piece of binding
- Fold over and secure by top stitching on the front
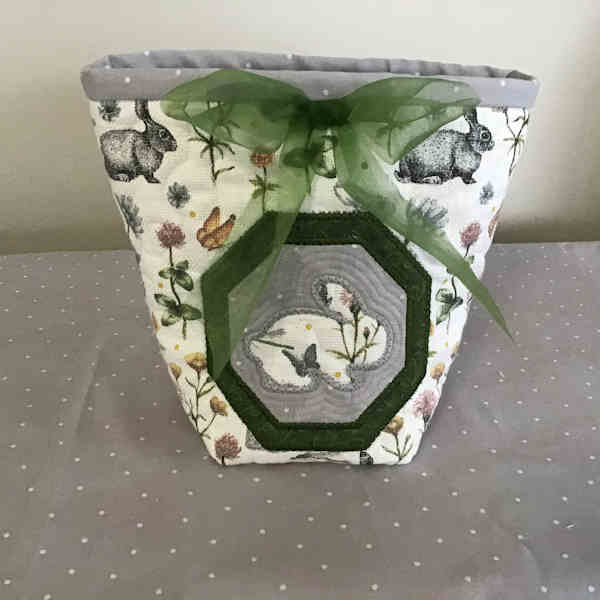
This is such a cute and easy project that you could use any design or fabric to make.
I can't wait to see what you come up with!!
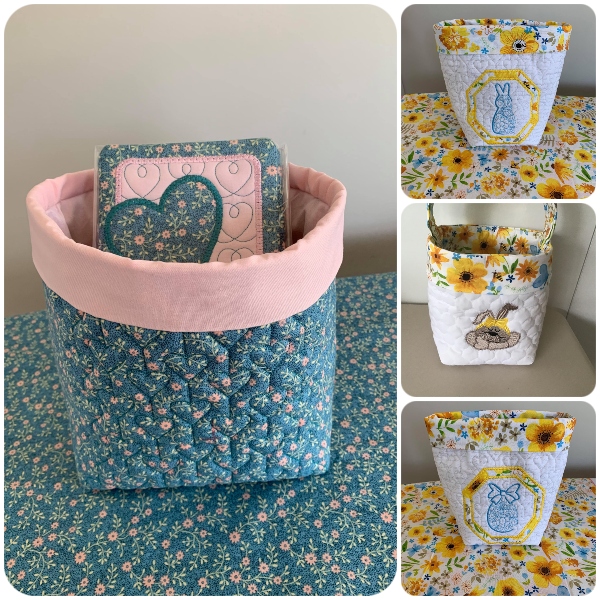
Darina shared these samples
- Left: Heart Quilting from Hearts, Stars and Circle Set
- Top Right and Bottom: Heart Quilting and Easter Delight Designs
- Middle: pre-quilted fabric with Free Easter Basket designs

