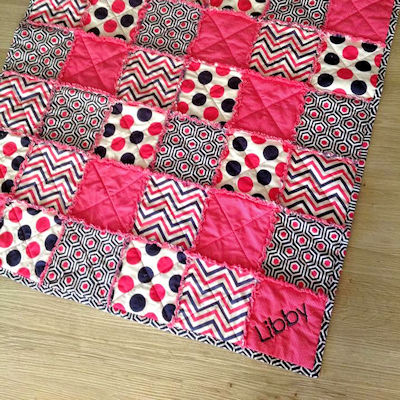
How to make your own Binding
Blog Post by Darina Foots
HOW TO MAKE YOUR OWN BINDING
You've spent hours on your project, now you need to bind the edges. Can't find a matching binding? Make your own! Darina shares her method of making her own binding - and creating perfect mitred corners
- Measure the outside of your finished quilt/project to determine the length of binding you will need. (more than likely, you will need to join your fabric strips to make enough)
- Cut your chosen fabric into 2 inch strips
- Stitch the short edges together to create one long strip
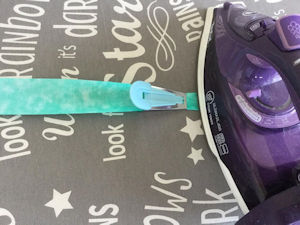
- Fold the strip in half, and press firmly, then fold each edge inwards to meet in the middle and press firmly, then again, fold entire strip in half and press
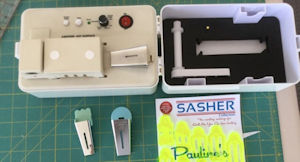
Here are photo's of Darina using a Bias Binding Maker - they are readily available for purchase - google Bias Binding Maker
(You do not have to have this gadget - you can easily do the same thing with your iron)

 |
 |
 |
 |
BINDING YOUR QUILT

Start to attach your binding along the middle of an edge (or the bottom) of the quilt. Leave a tail of at least 3 inches before stitching (you'll see why below)

Stitch as pictured to the edge
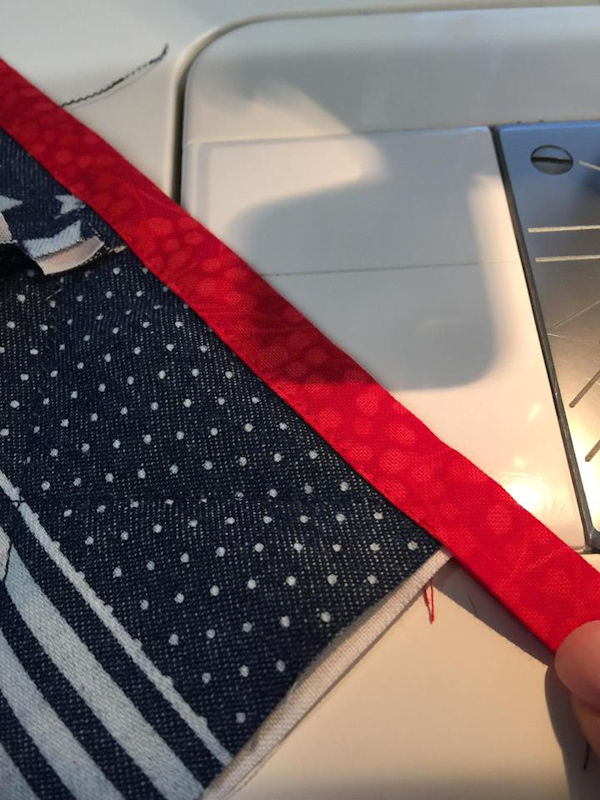
Take quilt out of the machine and fold in the edge as pictured

Return to the machine and continue to stitch down the binding, mitreing the corners as you go. Once you get close to where you began attaching the binding, remove your quilt from the machine

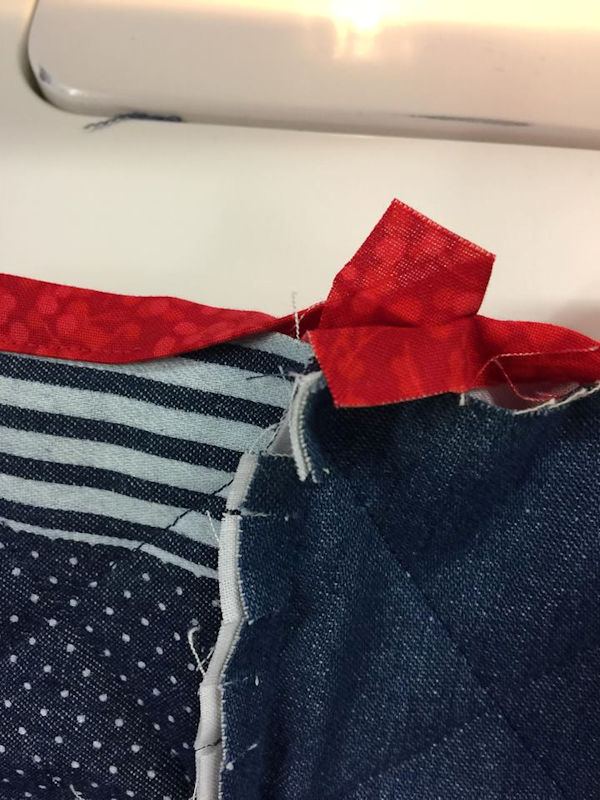
Trim your edges so you have an overlap, and as pictured, and mark where the two pieces meet

Unfold the binding and stitch across that mark - trim seam allowance
Press
Return to machine and complete the stithing

Perfect!!
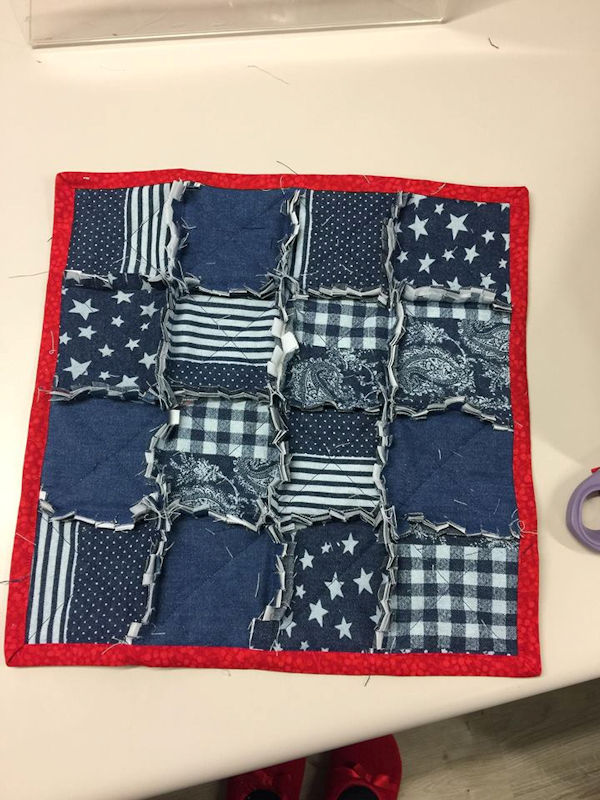
Note from Heather: Thanks again Darina for sharing your techniques - you'll make seamstresses out of us all yet!!

You can view more of Darina's awesome creations at Sew Nice by Darina

