arrow_circle_down Designs
arrow_circle_down Subscribe
arrow_circle_down How to make a Christmas Tree Skirt
CHRISTMAS TREE SKIRT INSTRUCTIONS
By Darina
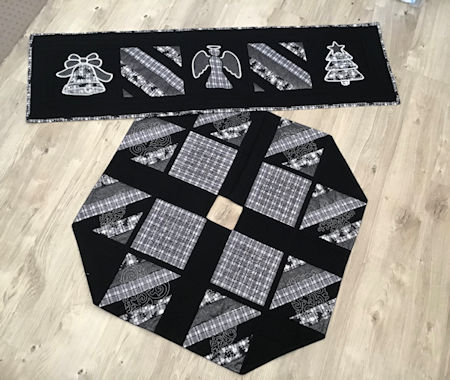
This tree skirt sample consists of embroidered, jelly roll and stippled blocks from Kreative kiwi, but can be made with any design you like
DOWNLOAD PRINTABLE INSTRUCTIONS
This skirt is made with techniques Darina has used in previous Blogs, rather than re-write these instructions, if you need more detail, please read:
Fleecy Quilt Blog - Joining and Binding Blocks
Binding – How to make, and stitch on binding, or use purchased binding,
The size of your block will determine the size of your skirt. This sample was made with in the hoop blocks made in the 8x8 hoop. (fabrics cut to 9x9 inch to begin with) – The inner embroidery designs were 5x7 size.
If you have a smaller hoop, then you can either make more blocks, or simply cut your block fabrics to the 9-inch size, with your embroidery design centred in the middle
(If you have an 8x8 hoop, The beauty of using In the hoop blocks, is you can have the added quilting, plus know your block will always finish the same size)
MATERIALS REQUIRED
|
With so many variations in block sizes and lengths, we cannot give a detailed fabric requirement list. What you should think about is, the finished size of the Tree Skirt As a guide, I would suggest at least 1.5 metre (1.5yard) for blocks, and 1 metre (1 yard) for lining |
For the Tree Skirt you will need:
- Fabric and stabiliser and batting to make number of blocks required
- Darina uses No show mesh (a lite cut-away) as her stabiliser – you won’t see the back of the blocks, so you can use the stabiliser of your choice
- Fabric to Back the Skirt
- Binding for block joining and closing ties – Click here to read how to make your own binding
How many Blocks will I need?
12 Square Blocks – cut to 9x9 inch to begin with
5 ‘plain’ Blocks (or blocks with quilting of your choice) – cut to 9x9 inch to begin with
- 2 blocks will be cut in half diagonally for the Triangle corners
- The remaining 3 blocks will each be cut into three 2.5 inch widths and used as the rectangle joining blocks
STEP ONE - EMBROIDER BLOCKS
The blocks can be made with any designs or method you prefer. Darina used
- Jelly Roll In the hoop Blocks – striped blocks, and used as background quilting on the blocks
- Free Stippling Designs
- Free Continuous Lines Christmas Blocks
- ** our Free 2019 Christmas Gift Designs would be perfect for this project
For each Block
- Cut your base fabric/block 9 inch square (or 1 inch larger than your finished block size)
- Hoop No show mesh (stabiliser)
- Centre your wadding and fabric over the hoop
- Embroider your blocks as per In the hoop block instructions, or simply embroider the design of your choice
- No need to back your blocks as the Tree Skirt is lined
- You will need to make 5 stippled or plain blocks,
- 2 to be cut diagonally for the four corners
- 3 to be used for the joining rectangle blocks.
STEP TWO – SQUARE UP THE BLOCKS
This is the important bit!! Taking your time now, will make it everything fit together ‘nicely’ and make your life easier!!
Trim all your blocks to the exact size.
- If you have used an In the hoop Block, then cut a quarter inch from the outer stitching line – this ensures your binding will cover all the edge stitching
- If you have made your own blocks, then you can safely cut them down to 8.5 inches (or the size of your choice)
Whatever size you cut your block down to, cut ALL the blocks both embroidered and plain to that size.
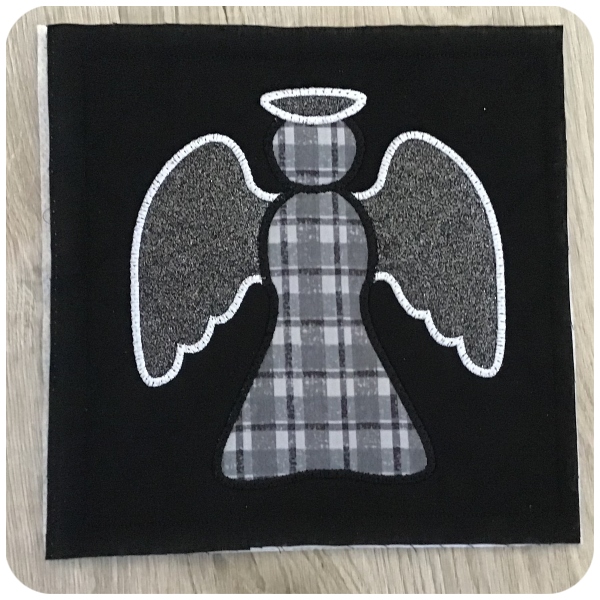
Plain Blocks
- Cut two blocks in half diagonally for the corners
- With the remaining three blocks, cut three 2.5-inch-wide rectangles (you will have a little from each block left over)
STEP THREE - CONSTRUCTING THE SKIRT
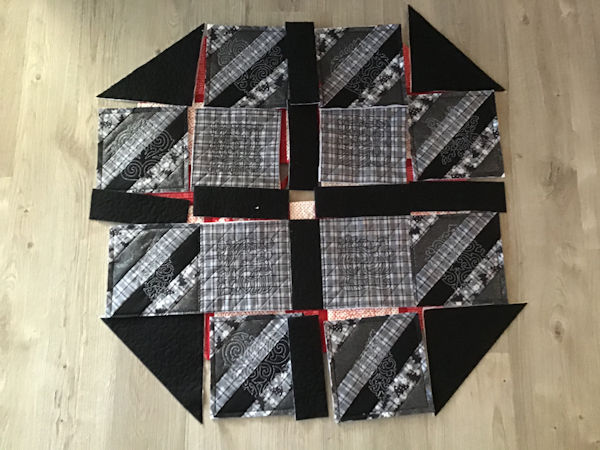
As pictured, lay your design out on a table or the floor and stand back to see how it looks. Once you have the designs placed how you like them, you are ready to join the blocks.

One edge will be your joining side, and will have rectangle blocks on both sides (do the extra side at the end)
STEP FOUR - JOINING THE BLOCKS
This is where you’ll see how accurate your cutting was!! Don’t worry, you will be covering your joins with binding, so there is always a little bit of ‘wriggle room’
As pictured, you simply butt your blocks up to each other, and using a wide zig zig (5mm) on your machine, stitch each block together
(If you want to see this technique in closer detail, click here to read Darina’s Fleece Quilt Instructions)


Don’t forget to add the rectangles on both sides of one edge - this is where you will add your closures.

The beauty of this technique (as you can see in the photos), is matching the centre and outer edges is not crucial, as they will be in the seam allowance – plus your joining seams will be covered by binding – all secrets to a beautiful professional finish

STEP FIVE - ADDING BINDING
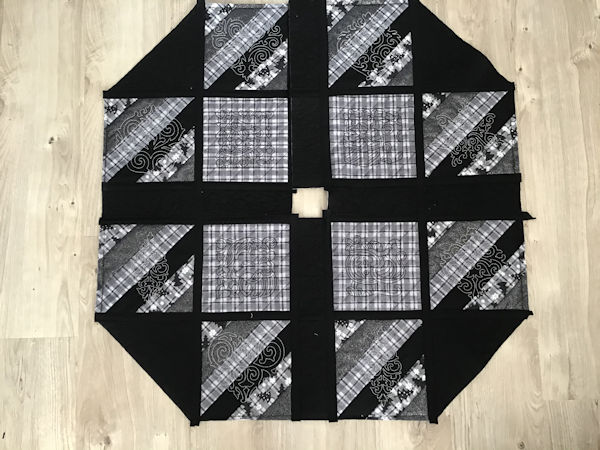
Stitch binding over all the inner joins as pictured
- Darina made her own binding – cut 1.5 inch to make a ¾ inch binding, or you could use purchased binding.
- A tip to keep everything straight – stitch one side of the binding down on all pieces, then turn and stitch down the other side
(I've used this photo from the matching Table Runner project as easier to see than the black on black)

STEP SIX - ADD BACKING/LINING
Do a quick square up of your skirt top, then cut your Lining to the exact same size – you will need to join a piece of fabric to one side of the joining edge

Stitch all around leaving an opening on one side edge
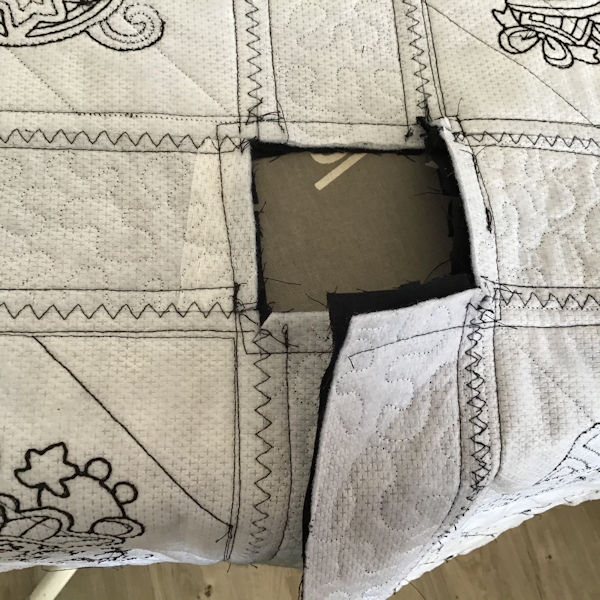
Clip where needed

Turn thru to the right side and Press
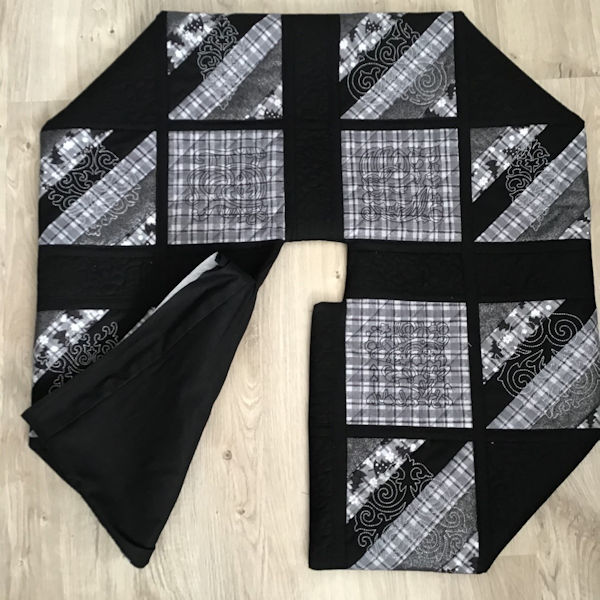
Turn the raw edges to the inside and press together
Top stitch around the entire skirt
STEP SEVEN - ADD CLOSURES
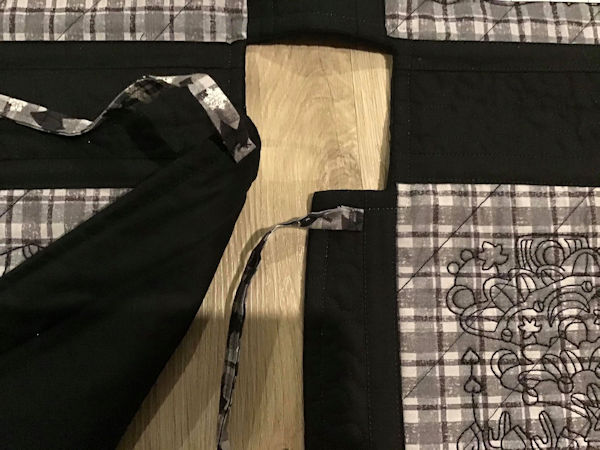
You could add any closures you like – Velcro, hook and eye – pretty buttons, or as Darina did, Make a couple of ties with your leftover binding and attach where required.

| Top |

